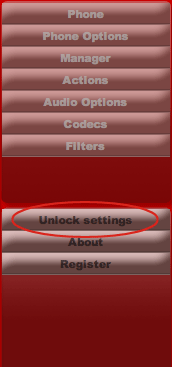
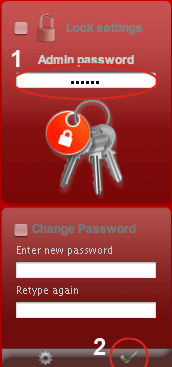
By default the User Settings are locked with a password, the default password sent with Voixmanager is "voixer". To Unlock the settings and configure the software in the settings menu click "Unlock Settings", then fill in the admin password (1) and press the apply button (2)
First Step
The first step is to configure the phone and manager settings.
Configure the Phone
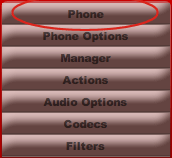
1) Go to the Settings > Phone
Fill in all the login details for the Phone. Click the Apply Button to apply the change
Configure the phone Options
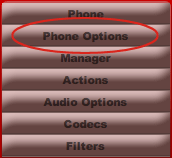
2) Go to the Settings > Phone Option
Fill in your login details for the voicemail account. Click the Apply Button to apply the change
Configure the Manager
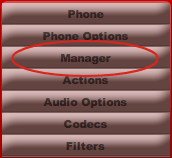
3) Go to the Settings > Manager
Fill in the login details for the Manager Interface. Click the Apply Button to apply the changes.
Note:
- The Asterisk Manager Interface (AMI) must be enabled on the Asterisk server.
- You must create an IAX account for the Voix manager rather than SIP, or the phone won’t work.
- If you use Voice Mail a VM context must exist, in the iax.conf and sip.conf the user for this voicemail account must have the definition parameter "mailbox" for example 'mailbox=123@yourVMcontext.
There are just few conventions to use with Voix Manager:
1) the extension must be numeric es. [123]
2) the callerid must be in the format "name <extension>"
example of Extension in you SIP or IAX.conf:
[123]                    ;<< The extension must be numeric
host=dynamic
username=123
qualify=no
notransfer=no
secret=xxxxxxxxxx
type=friend
auth=md5
context=your extensions context
dtmfmode=rfc2833
callerid=pippo <123>            ;<< The cli must be in this format
mailbox=123@your voicemail context
requirecalltoken=no             ;<< if iax
disallow=all
allow=gsm
deny=0.0.0.0/0.0.0.0
permit=192.168.1.0/255.255.255.0
Voix Manager uses MD5 encryption.

